I revised the Adobe Photoshop Classroom in a Book for the 2026 release of Photoshop, and the book is now coming off the presses! A 35% discount code is available later in this article.
(more…)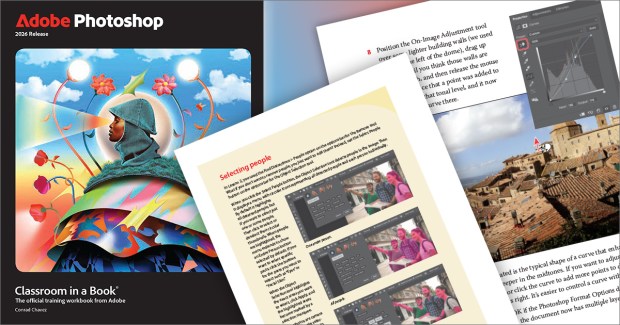

When you buy a new computer for digital creative work, what specs are most important? I’m pleased that my article “How to Buy a Computer for Creative Work” is the cover story for the February 2025 issue of CreativePro Magazine. Learn how the type of creative work you do affects how you want to balance and budget for memory, storage, processors, and other components.
(more…)
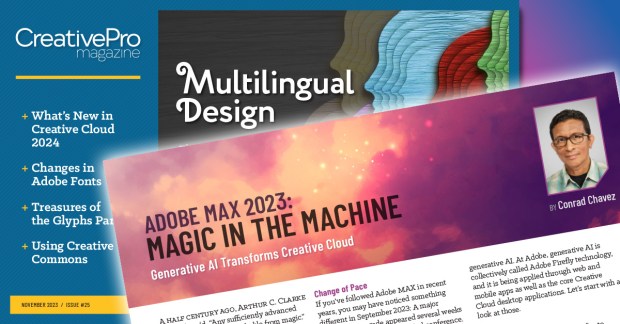
My friends at CreativePro Magazine asked me to summarize the major Adobe Creative Cloud upgrades announced at the Adobe MAX conference in October 2023. You’ll find my annual analysis in the article What’s New in Creative Cloud 2024/Magic in the Machine, published in the November 2023 issue.
(more…)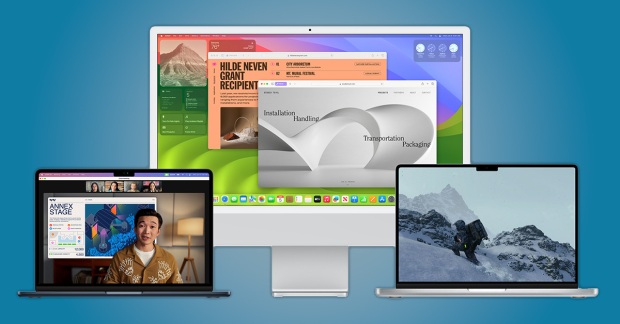
With the September 2023 release of Apple macOS 14 Sonoma, you’re probably wondering if your Adobe software will work in this major annual upgrade to macOS. There isn’t a single “yes” or “no” answer for all Adobe applications; some apps might be OK while others have issues, so this article breaks out compatibility info by application. Also, we don’t usually know everything about compatibility on the first day a new major version of macOS becomes available; that information emerges over time as Apple, Adobe, and other software developers test with the initial 14.0 public release and produce updates with fixes. I’ll update this article as new information comes out.
For more details, or if you have questions about Adobe Creative Suite (CS) software, read on…
(more…)


